在 JavaScript 中创建 Excel 查看器可能是一项艰巨的任务,但使用 SpreadJS JavaScript 电子表格,创建过程要简单得多。在本教程博客中,我们将向您展示如何使用 SpreadJS 的强大功能来创建一个查看器,该查看器允许您在 Web 浏览器中打开和保存 Excel 文件,以及保护工作表不被编辑并添加密码。要继续阅读此博客,请务必下载示例---内容转载来自官方网站。
SpreadJS 入门---JS已经Crack--请关注
该项目将由三个文件组成:HTML、JavaScript 文件和 CSS 文件。我们可以首先将 SpreadJS 合并到我们的项目中。您可以通过几种不同的方式来做到这一点:
参考本地文件
SpreadJS 可以从我们的网站下载并导入到应用程序中:GrapeCity, Inc.下载后,我们可以提取该 ZIP 文件并将 JS 和 CSS 文件复制到我们的应用程序中,特别是这些文件:
- gc.spread.sheets.all.xx.xxmin.js
- gc.spread.sheets.io.xx.xxmin.js
- gc.spread.sheets.excel2013white.xx.xxcss
一旦我们将它们放入应用程序的文件夹中,我们就可以在代码中引用它们:
<link rel="stylesheet" type="text/css" href="./styles/gc.spread.sheets.excel2013white.css">
<script src="./scripts/gc.spread.sheets.all.min.js" type="text/javascript"></script>
<script src="./scripts/gc.spread.sheets.io.min.js" type="text/javascript"></script>
<script src="./scripts/gc.spread.sheets.charts.min.js" type="text/javascript"></script>
<script src="./scripts/gc.spread.sheets.shapes.min.js" type="text/javascript"></script>
参考NPM
引用 SpreadJS 的另一种方法是通过 NPM 文件。可以使用以下命令将它们添加到应用程序中:
npm install @grapecity/spread-sheets @grapecity/spread-sheets-io @grapecity/spread-sheets-charts @grapecity/spread-sheets-shapes @grapecity/spread-sheets-pivots然后,我们可以在代码中引用这些文件:
<link rel="stylesheet" type="text/css" href="./node_modules/@grapecity/spread-sheets/styles/gc.spread.sheets.excel2013white.css">
<script src="./node_modules/@grapecity/spread-sheets/dist/gc.spread.sheets.all.min.js" type="text/javascript"></script>
<script src="./node_modules/@grapecity/spread-sheets-io/dist/gc.spread.sheets.io.min.js" type="text/javascript"></script>
<script src="./node_modules/@grapecity/spread-sheets-charts/dist/gc.spread.sheets.charts.min.js" type="text/javascript"></script>
<script src="./node_modules/@grapecity/spread-sheets-shapes/dist/gc.spread.sheets.shapes.min.js" type="text/javascript"></script>
创建 HTML 内容
一旦引用了这些文件,我们就可以组合 HTML 页面和 CSS 样式。对于样式,我已经提前创建了样式:
body {
    position: absolute;
    top: 0;
    bottom: 0;
    left: 0;
    right: 0;
}

.sample-tutorial {
    position: relative;
    height: 100%;
    overflow: hidden;
}

.sample-container {
    width: calc(100% - 280px);
    height: 100%;
    float: left;
}

.sample-spreadsheets {
    width: 100%;
    height: calc(100% - 25px);
    overflow: hidden;
}

.options-container {
    float: right;
    width: 280px;
    height: 100%;
    box-sizing: border-box;
    background: #fbfbfb;
    overflow: auto;
}

.sample-options {
    z-index: 1000;
}

.inputContainer {
    width: 100%;
    height: auto;
    border: 1px solid #eee;
    padding: 6px 12px;
    margin-bottom: 10px;
    box-sizing: border-box;
}

.settingButton {
    color: #fff;
    background: #82bc00;
    outline: 0;
    line-height: 1.5715;
    position: relative;
    display: inline-block;
    font-weight: 400;
    white-space: nowrap;
    text-align: center;
    height: 32px;
    padding: 4px 15px;
    font-size: 14px;
    border-radius: 2px;
    user-select: none;
    cursor: pointer;
    border: 1px solid #82bc00;
    box-sizing: border-box;
    margin-bottom: 10px;
    margin-top: 10px;
}

.settingButton:hover {
    color: #fff;
    border-color: #88b031;
    background: #88b031;
}

.settingButton:disabled {
    background: #e2dfdf;
    border-color: #ffffff;
}

.options-title {
    font-weight: bold;
    margin: 4px 2px;
}

#selectedFile {
    display: none;
}

select, input[type="text"], input[type="number"] {
    display: inline-block;
    margin-left: auto;
    width: 120px;
    font-weight: 400;
    outline: 0;
    line-height: 1.5715;
    border-radius: 2px;
    border: 1px solid #F4F8EB;
    box-sizing: border-box;
}

.passwordIpt {
    margin-top: 10px;
    height: 25px;
}

.passwordIpt[warning="true"] {
    border-color: red;
}

.passwordIpt[warning="true"]::placeholder {
    color: red;
    opacity: 0.8;
}

@keyframes shake {
    0% { transform: translate(1px, 1px) rotate(0deg); }
    10% { transform: translate(-1px, -2px) rotate(-1deg); }
    20% { transform: translate(-3px, 0px) rotate(1deg); }
    30% { transform: translate(3px, 2px) rotate(0deg); }
    40% { transform: translate(1px, -1px) rotate(1deg); }
    50% { transform: translate(-1px, 2px) rotate(-1deg); }
    60% { transform: translate(-3px, 1px) rotate(0deg); }
    70% { transform: translate(3px, 1px) rotate(-1deg); }
    80% { transform: translate(-1px, -1px) rotate(1deg); }
    90% { transform: translate(1px, 2px) rotate(0deg); }
    100% { transform: translate(1px, 1px) rotate(0deg); }
}

#warningBox {
    color: red;
}
然后,我们可以添加此应用程序所需的所有按钮和 UI,其中包括:
- SpreadJS 实例
- 状态栏
- 进口部分
- 密码文本框
- 文件选择按钮
- 导入按钮
- 出口部分
- 密码文本框
- 导出按钮
当我们将每个元素添加到 HTML 正文部分时,我们可以为每个元素使用适当的样式:
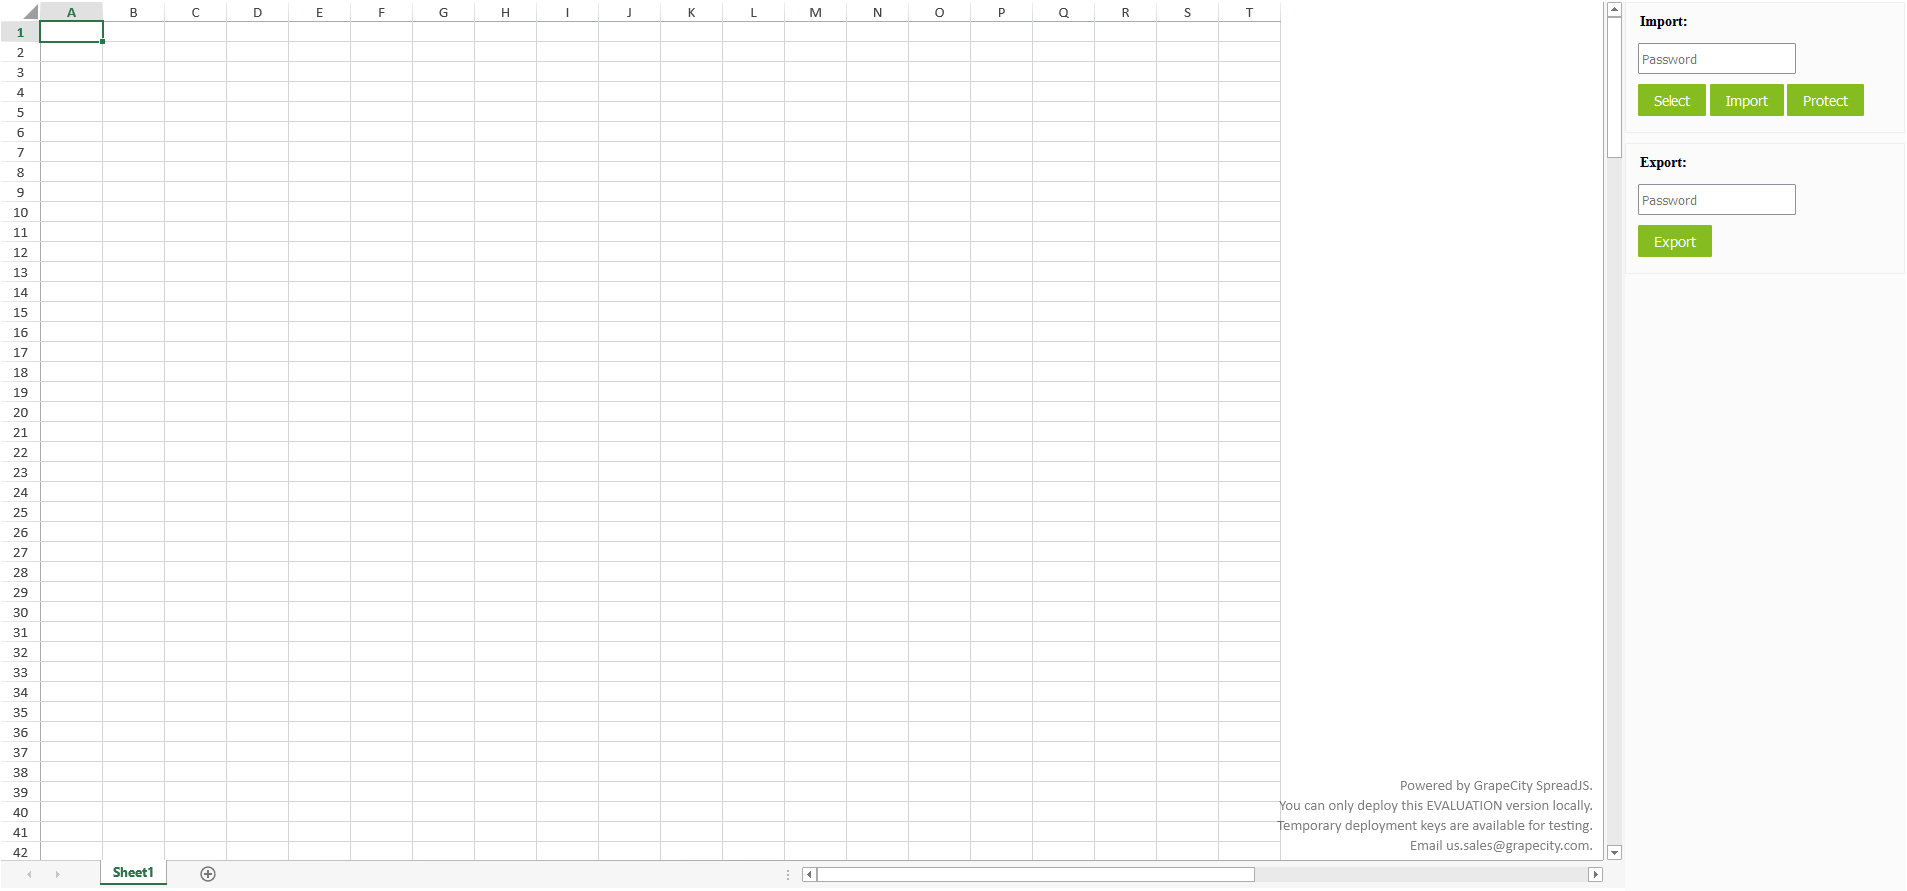
<body>
    <div class="sample-tutorial">
        <div class="sample-container">
            <div id="ss" class="sample-spreadsheets"></div>
            <div id="statusBar"></div>
        </div>
        <div class="options-container">
            <div class="option-row">
                <div class="inputContainer">
                    <div class="options-title">Import:</div>
                    <input class="passwordIpt" id="importPassword" type="password" placeholder="Password" disabled>
                    <br>
                    <div id="warningBox"></div>
                    <input id="selectedFile" type="file" accept=".xlsx" />
                    <button class="settingButton" id="selectBtn">Select</button>
                    <button class="settingButton" id="importBtn" disabled>Import</button>
                </div>
                <div class="inputContainer">
                    <div class="options-title">Export:</div>
                    <input class="passwordIpt" id="exportPassword" type="password" placeholder="Password">
                    <br>
                    <button class="settingButton" id="exportBtn">Export</button>
                </div>
            </div>
        </div>
    </div>
</body>初始化 SpreadJS
现在我们已经引用了文件并设置了 HTML 内容,我们可以初始化 SpreadJS 实例并准备在 app.js 文件中添加 Excel 导入代码。我们可以将其放在窗口的 onload 函数中:
window.onload = function () {
  let spread = new GC.Spread.Sheets.Workbook(document.getElementById("ss"));
}
添加按钮和功能
出于此应用程序的目的,我们还可以通过创建一些变量来使编写更容易,这些变量可用于我们在 window.onload 函数之前创建的 UI:
const $ = selector => document.querySelector(selector);
const listen = (host, type, handler) => host.addEventListener(type, handler);
现在,我们可以更轻松地创建变量来引用 window.onload 函数内的不同 HTML 元素:
const importPassword = $('#importPassword');
const selectBtn = $('#selectBtn');
const fileSelect = $('#selectedFile');
const importBtn = $('#importBtn');
const warningBox = $('#warningBox');
const exportPassword = $('#exportPassword');
const exportBtn = $('#exportBtn');
我们现在可以为文件选择按钮和密码文本框添加事件侦听器和函数,以及错误密码消息的处理程序:
listen(selectBtn, "click", () => fileSelect.click());

const fileSelectedHandler = () => {
    importPassword.disabled = false;
    importBtn.disabled = false;
}

listen(fileSelect, 'change', fileSelectedHandler);

const wrongPasswordHandler = message => {
    importPassword.setAttribute('warning', true);
    importPassword.style.animation = "shake 0.5s";
    setTimeout(() => importPassword.style.animation = "", 500);
    warningBox.innerText = message;
    importPassword.value = '';
};

listen(importPassword, 'focus', () => {
    warningBox.innerText = '';
    importPassword.removeAttribute('warning');
});
将 Excel 文件导入 SpreadJS
现在,我们可以添加代码以将 Excel 文件导入到 SpreadJS 实例中。由于我们可能会导入受密码保护的文件,因此在调用 SpreadJS导入函数时需要考虑到这一点。我们还可以在编写函数后添加事件处理程序:
const importFileHandler = () => {
    let file = fileSelect.files[0];
    if (!file) return ;
    spread.import(file, console.log, error => {
        if (error.errorCode === GC.Spread.Sheets.IO.ErrorCode.noPassword || error.errorCode === GC.Spread.Sheets.IO.ErrorCode.invalidPassword) {
            wrongPasswordHandler(error.errorMessage);
        }
    }, {
        fileType: GC.Spread.Sheets.FileType.excel,
        password: importPassword.value
    });
};
listen(importBtn, 'click', importFileHandler);
从 SpreadJS 导出 Excel 文件
与导入类似,我们导出时可以支持用户输入密码添加到Excel文件中,所以我们只需要在SpreadJS导出函数中传入密码即可。我们还将为此添加一个事件处理程序:
const exportFileHandler = () => {
        let password = exportPassword.value;
        spread.export(blob => saveAs(blob, (password ? 'encrypted-' : '') + 'export.xlsx'), console.log, {
            fileType: GC.Spread.Sheets.FileType.excel,
            password: password
        });
    };
    listen(exportBtn, 'click', exportFileHandler);
保护数据
我们还可以保护数据以防止用户更改它。为此,我们可以添加一个按钮来保护工作簿的当前工作表。可以对其进行更改以满足任何类型的要求,但对于本示例而言,这将是活动工作表。与其他按钮类似,我们需要添加一个处理程序来单击它,但使用 SpreadJS,我们还可以指定保护选项:
const protectHandler = () => {
    var option = {
        allowSelectLockedCells:true,
        allowSelectUnlockedCells:true,
        allowFilter: true,
        allowSort: false,
        allowResizeRows: true,
        allowResizeColumns: false,
        allowEditObjects: false,
        allowDragInsertRows: false,
        allowDragInsertColumns: false,
        allowInsertRows: false,
        allowInsertColumns: false,
        allowDeleteRows: false,
        allowDeleteColumns: false,
        allowOutlineColumns: false,
        allowOutlineRows: false
    };
    spread.getSheet(0).options.protectionOptions = option;
    spread.getSheet(0).options.isProtected = true;
};
listen(protectBtn, 'click', protectHandler);运行应用程序
现在剩下的就是运行该应用程序。由于我们是使用 PureJS 和 HTML 制作的,因此我们可以简单地在 Web 浏览器中打开 HTML 文件:
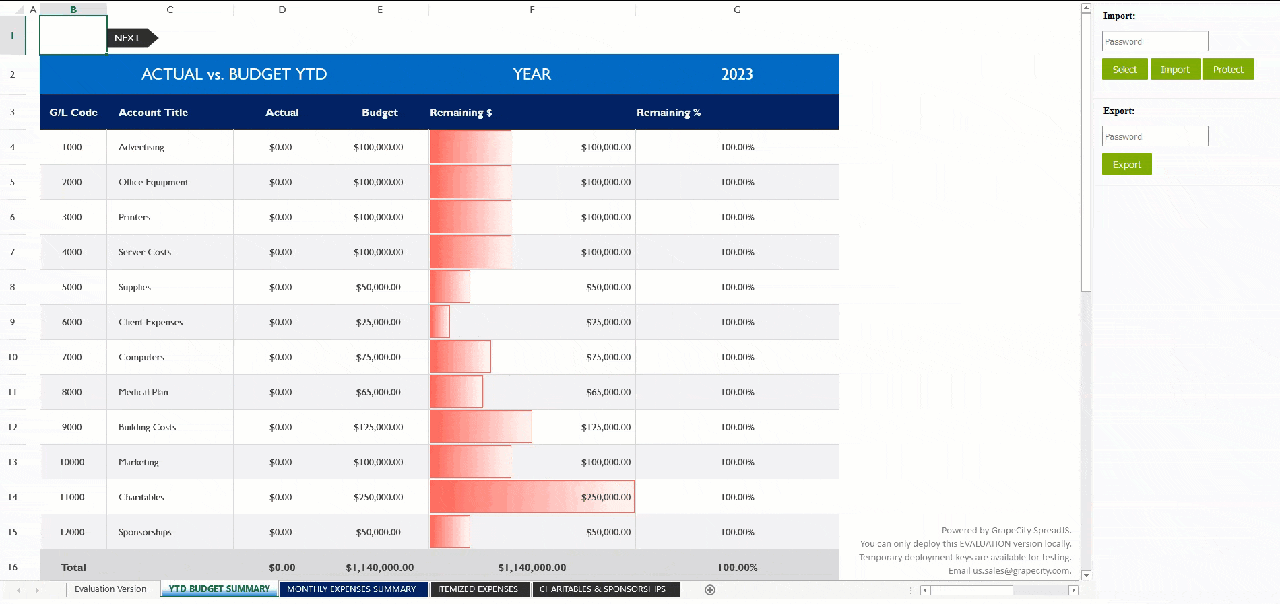
我们可以点击“选择”按钮选择要加载的Excel文件,然后点击“导入”按钮将其导入到SpreadJS中:
现在我们可以通过在导出下的密码文本框中输入密码来添加密码,然后单击“导出”按钮:
您现在已经使用 SpreadJS 制作了自己的 Excel 查看器!有了它,您可以在导出 Excel 文件之前打开、保护 Excel 文件并为其添加密码,只需几个简单的步骤即可完成。


