一、使用TableLayout实现计算器UI
1.新建一个空白项目布局

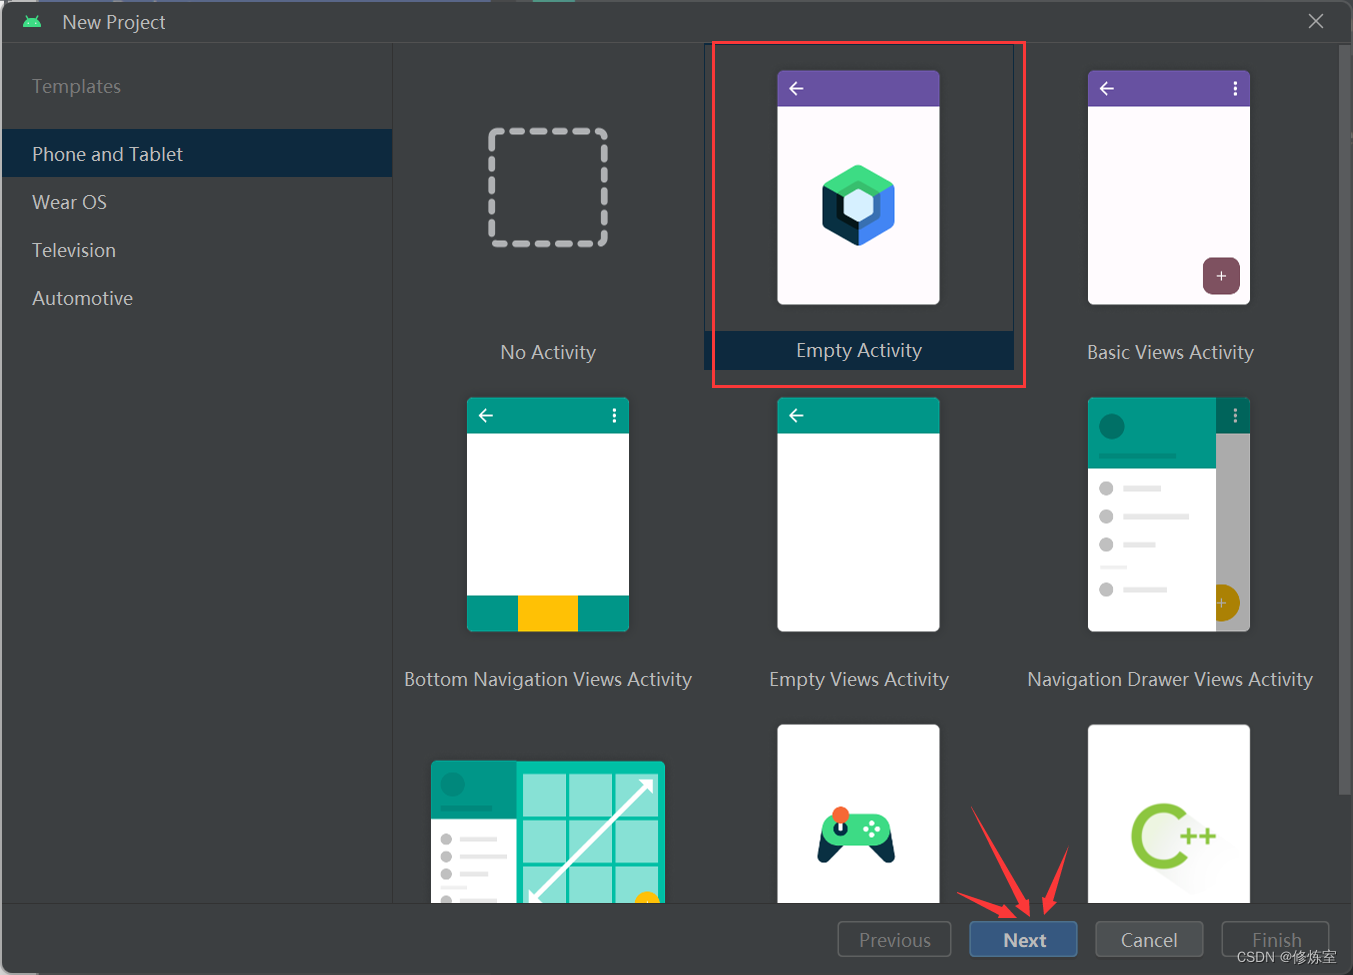
根据自己的需求输入其他信息

填写完成后,点击Finish即可
2. 设计UI界面
在res/layout文件夹中的XML文件中创建UI界面。在这个XML文件中,您可以使用TableLayout来设计计算器界面。
2.1 创建layout文件夹
但是默认创建出来的项目并不会包含layout布局文件夹,因此需要我们自行创建

在res目录内,右键单击鼠标,然后选择 “New” -> “Android Resource Directory” 选项。

在弹出的对话框中,将 “Directory name” 设置为 “layout”,然后点击 “OK”。

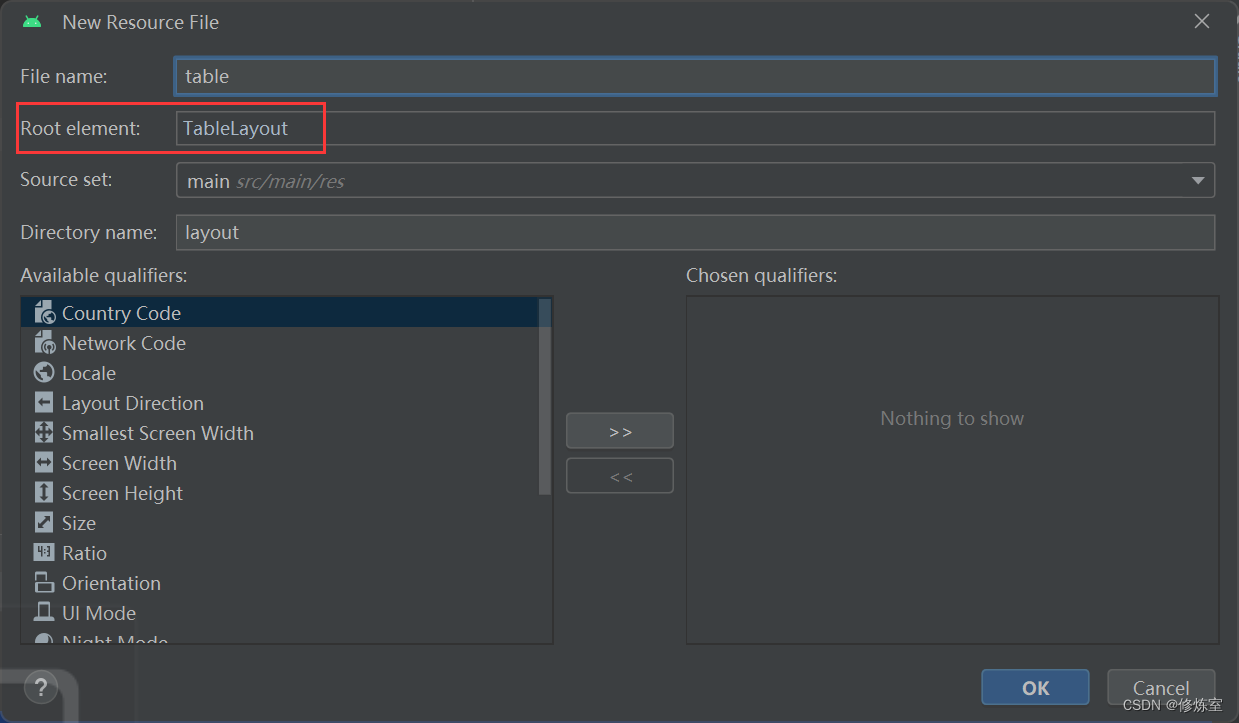
2.2 创建xml文件
在layout目录内,右键单击鼠标,然后选择 “New” -> “Layout Resource File” 选项。

修改一下信息
如果需要直接写XML代码,可点击右上角进行
Code切换

2.3编写布局代码
<?xml version="1.0" encoding="utf-8"?
<TableLayout xmlns:android="http://schemas.android.com/apk/res/android"
    android:layout_width="match_parent"
    android:layout_height="match_parent"
    android:background="#D8ECF3">

    <!-- 第一行,显示计算结果 -->
    <TableRow
        android:layout_width="match_parent"
        android:layout_height="90dp">

        <TextView
            android:gravity="bottom|right"
            android:textSize="70dp"
            android:singleLine="true"
            android:layout_margin="15dp"
            android:layout_width="match_parent"
            android:layout_height="120dp"
            android:id="@+id/textView"/>
    </TableRow>

    <TableRow
        android:layout_width="match_parent"
        android:layout_height="match_parent"
        android:layout_marginTop="10dp" >

        <Button
            android:id="@+id/btn_left"
            android:layout_marginLeft="10dp"
            android:gravity="center"
            android:layout_width="0dp"
            android:layout_height="wrap_content"
            android:layout_weight="1"
            android:textSize="25sp"
            android:text="("/>
        <Button
            android:id="@+id/btn_right"
            android:layout_marginLeft="10dp"
            android:gravity="center"
            android:layout_width="0dp"
            android:layout_height="wrap_content"
            android:layout_weight="1"
            android:textSize="25sp"
            android:text=")"/>

        <Button
            android:id="@+id/btn_quyu"
            android:layout_marginLeft="10dp"
            android:gravity="center"
            android:layout_width="0dp"
            android:layout_height="wrap_content"
            android:layout_weight="1"
            android:textSize="25sp"
            android:text="%"/>

        <Button
            android:id="@+id/btn_CE"
            android:layout_marginLeft="10dp"
            android:gravity="center"
            android:layout_width="0dp"
            android:layout_height="wrap_content"
            android:layout_weight="1"
            android:textSize="25sp"
            android:text="CE"
            />
    </TableRow>
    <TableRow
        android:layout_width="match_parent"
        android:layout_height="match_parent"
        android:layout_marginTop="10dp" >

        <Button
            android:id="@+id/btn_7"
            android:layout_marginLeft="10dp"
            android:gravity="center"
            android:layout_width="0dp"
            android:layout_height="wrap_content"
            android:layout_weight="1"
            android:textSize="25sp"
            android:text="7"
            />
        <Button
            android:id="@+id/btn_8"
            android:layout_marginLeft="10dp"
            android:gravity="center"
            android:layout_width="0dp"
            android:layout_height="wrap_content"
            android:layout_weight="1"
            android:textSize="25sp"
            android:text="8"
            />
        <Button
            android:id="@+id/btn_9"
            android:layout_marginLeft="10dp"
            android:gravity="center"
            android:layout_width="0dp"
            android:layout_height="wrap_content"
            android:layout_weight="1"
            android:textSize="25sp"
            android:text="9"
            />
        <Button
            android:id="@+id/btn_chu"
            android:layout_marginLeft="10dp"
            android:gravity="center"
            android:layout_width="0dp"
            android:layout_height="wrap_content"
            android:layout_weight="1"
            android:textSize="25sp"
            android:text="÷"
            />
    </TableRow>

    <TableRow
        android:layout_width="match_parent"
        android:layout_height="match_parent"
        android:layout_marginTop="10dp" >

        <Button
            android:id="@+id/btn_4"
            android:layout_marginLeft="10dp"
            android:gravity="center"
            android:layout_width="0dp"
            android:layout_height="wrap_content"
            android:layout_weight="1"
            android:textSize="25sp"
            android:text="4"
            />
        <Button
            android:id="@+id/btn_5"
            android:layout_marginLeft="10dp"
            android:gravity="center"
            android:layout_width="0dp"
            android:layout_height="wrap_content"
            android:layout_weight="1"
            android:textSize="25sp"
            android:text="5"
            />
        <Button
            android:id="@+id/btn_6"
            android:layout_marginLeft="10dp"
            android:gravity="center"
            android:layout_width="0dp"
            android:layout_height="wrap_content"
            android:layout_weight="1"
            android:textSize="25sp"
            android:text="6"
            />
        <Button
            android:id="@+id/btn_cheng"
            android:layout_marginLeft="10dp"
            android:gravity="center"
            android:layout_width="0dp"
            android:layout_height="wrap_content"
            android:layout_weight="1"
            android:textSize="25sp"
            android:text="×"
            />
    </TableRow>

    <TableRow
        android:layout_width="match_parent"
        android:layout_height="match_parent"
        android:layout_marginTop="10dp" >

        <Button
            android:id="@+id/btn_1"
            android:layout_marginLeft="10dp"
            android:gravity="center"
            android:layout_width="0dp"
            android:layout_height="wrap_content"
            android:layout_weight="1"
            android:textSize="25sp"
            android:text="1"
            />
        <Button
            android:id="@+id/btn_2"
            android:layout_marginLeft="10dp"
            android:gravity="center"
            android:layout_width="0dp"
            android:layout_height="wrap_content"
            android:layout_weight="1"
            android:textSize="25sp"
            android:text="2"
            />
        <Button
            android:id="@+id/btn_3"
            android:layout_marginLeft="10dp"
            android:gravity="center"
            android:layout_width="0dp"
            android:layout_height="wrap_content"
            android:layout_weight="1"
            android:textSize="25sp"
            android:text="3"
            />
        <Button
            android:id="@+id/btn_jian"
            android:layout_marginLeft="10dp"
            android:gravity="center"
            android:layout_width="0dp"
            android:layout_height="wrap_content"
            android:layout_weight="1"
            android:textSize="25sp"
            android:text="-"
            />
    </TableRow>

    <TableRow
        android:layout_width="match_parent"
        android:layout_height="match_parent"
        android:layout_marginTop="10dp" >

        <Button
            android:id="@+id/btn_0"
            android:layout_marginLeft="10dp"
            android:gravity="center"
            android:layout_width="0dp"
            android:layout_height="wrap_content"
            android:layout_weight="1"
            android:textSize="25sp"
            android:text="0"
            />
        <Button
            android:id="@+id/btn_dian"
            android:layout_marginLeft="10dp"
            android:gravity="center"
            android:layout_width="0dp"
            android:layout_height="wrap_content"
            android:layout_weight="1"
            android:textSize="25sp"
            android:text="."
            />
        <Button
            android:id="@+id/btn_dengyu"
            android:layout_marginLeft="10dp"
            android:gravity="center"
            android:layout_width="0dp"
            android:layout_height="wrap_content"
            android:layout_weight="1"
            android:textSize="25sp"
            android:text="="
            />
        <Button
            android:id="@+id/btn_jia"
            android:layout_marginLeft="10dp"
            android:gravity="center"
            android:layout_width="0dp"
            android:layout_height="wrap_content"
            android:layout_weight="1"
            android:textSize="25sp"
            android:text="+"
            />
    </TableRow>

</TableLayout>
可以看到实现了这样的一个效果

-
第一个
TableRow:-
android:layout_width和android:layout_height属性设置为match_parent和90dp,表示这个 TableRow 的宽度会填满其父容器,并且高度为 90dp。 -
TextView元素是 TableRow 内的子元素。它有以下属性:android:gravity="bottom|right":文本在 TextView 中的对齐方式,文本在底部和右边对齐。android:textSize="70dp":文本的字体大小为 70dp。android:singleLine="true":文本只显示在一行内。android:layout_margin="15dp":设置 TextView 的外边距为 15dp。android:layout_width="match_parent"和android:layout_height="120dp":TextView 的宽度会填满 TableRow,高度为 120dp。android:id="@+id/textView":为 TextView 分配一个唯一的标识符。
-
-
第二个
TableRow:-
android:layout_width和android:layout_height属性设置为match_parent和match_parent,表示这个 TableRow 的宽度会填满其父容器,高度也会填满。 -
这个 TableRow 包含了四个 Button 元素,每个按钮代表不同的操作。
- 每个按钮的
android:id属性用于标识按钮。 android:layout_marginLeft="10dp":设置按钮之间的左外边距为 10dp。android:gravity="center":设置按钮内文本的对齐方式为居中。android:layout_width="0dp"和android:layout_weight="1":这些属性是使用权重来均分 TableRow 中的宽度。每个按钮的宽度都会根据权重平均分配,以使它们在 TableRow 中平均分布。android:textSize="25sp":按钮内文本的字体大小为 25sp。android:text:按钮上显示的文本内容。这个布局代码的作用是创建一个包含一个文本框和一组操作按钮的界面,可能用于一个简单的计算器或表达式输入界面。
- 每个按钮的
-
3.应用布局
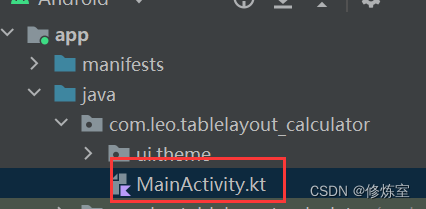
3.1 打开主文件
打开 Kotlin Activity 文件,通常是在 src/main/java/com/yourpackage/YourActivity.kt 中
3.2 修改内容视图
在 Activity 类的 onCreate 方法中,通过 setContentView 方法将布局文件设置为 Activity 的内容视图。假设您的布局文件名为 table.xml,在 onCreate 方法中添加以下代码:
class MainActivity : ComponentActivity() {
    override fun onCreate(savedInstanceState: Bundle?) {
        super.onCreate(savedInstanceState)
        setContentView(R.layout.table)
    }
}
需要注意以下几个条件:
- 确保替换
"table"为您的布局文件的实际名称(不包括文件扩展名)。这样,Android 就会将该布局文件加载到 Activity 中并显示出来。- 确保您的
table.xml文件位于res/layout目录中。通常,它应该是这个目录的子目录下的一个 XML 布局文件。- 在您的 Kotlin 代码中,您可以通过
findViewById方法来获取布局中的视图元素,例如,如果要获取布局中的某个按钮,可以这样做:
实现效果

二、使用GridLayout实现计算器UI
其他实现方式一样,对应的布局xml如下
<?xml version="1.0" encoding="utf-8"?>
<GridLayout
    xmlns:android="http://schemas.android.com/apk/res/android"
    android:layout_width="match_parent"
    android:layout_height="match_parent"
    android:columnCount="4"
    android:rowCount="6"
    android:padding="16dp"
    android:layout_gravity="center"
    android:background="#D8ECF3">


    <TextView
        android:gravity="bottom|right"
        android:textSize="70dp"
        android:singleLine="true"
        android:layout_margin="15dp"
        android:layout_width="match_parent"
        android:layout_height="120dp"
        android:layout_columnSpan="4"
        android:layout_rowSpan="2" />

    <Button
        android:gravity="center"
        android:layout_height="wrap_content"
        android:text="("
        android:textSize="24sp"
        android:layout_columnSpan="1"/>

    <Button
        android:gravity="center"
        android:layout_height="wrap_content"
        android:text=")"
        android:textSize="24sp"
        android:layout_columnSpan="1"/>
    <Button
        android:gravity="center"
        android:layout_height="wrap_content"
        android:text="%"
        android:textSize="24sp"
        android:layout_columnSpan="1"/>

    <Button
        android:gravity="center"
        android:layout_height="wrap_content"
        android:layout_weight="1"
        android:text="CE"
        android:textSize="24sp"
        android:layout_columnSpan="1"/>

    <!-- 第三行,数字按钮 -->
    <Button
        android:layout_height="wrap_content"
        android:text="7"
        android:gravity="center"
        android:textSize="24sp"/>
    <Button
        android:layout_height="wrap_content"
        android:text="8"
        android:gravity="center"
        android:textSize="24sp"/>
    <Button
        android:layout_height="wrap_content"
        android:text="9"
        android:gravity="center"
        android:textSize="24sp"/>
    <Button
        android:layout_height="wrap_content"
        android:text="÷"
        android:gravity="center"
        android:textSize="24sp"/>

    <!-- 第四行,数字按钮 -->
    <Button
        android:layout_height="wrap_content"
        android:text="4"
        android:gravity="center"
        android:textSize="24sp"/>
    <Button
        android:layout_height="wrap_content"
        android:text="5"
        android:gravity="center"
        android:textSize="24sp"/>
    <Button
        android:layout_height="wrap_content"
        android:text="6"
        android:gravity="center"
        android:textSize="24sp"/>
    <Button
        android:layout_height="wrap_content"
        android:text="×"
        android:gravity="center"
        android:textSize="24sp"/>

    <!-- 第五行,数字按钮 -->
    <Button
        android:layout_height="wrap_content"
        android:text="1"
        android:gravity="center"
        android:textSize="24sp"/>
    <Button
        android:layout_height="wrap_content"
        android:text="2"
        android:gravity="center"
        android:textSize="24sp"/>
    <Button
        android:layout_height="wrap_content"
        android:text="3"
        android:gravity="center"
        android:textSize="24sp"/>
    <Button
        android:layout_height="wrap_content"
        android:text="-"
        android:gravity="center"
        android:textSize="24sp"/>

    <!-- 第六行,数字按钮、小数点和等号 -->
    <Button
        android:layout_height="wrap_content"
        android:text="0"
        android:gravity="center"
        android:textSize="24sp"
        android:layout_columnSpan="1"/>
    <Button
        android:layout_height="wrap_content"
        android:text="."
        android:gravity="center"
        android:textSize="24sp"/>
    <Button
        android:layout_height="wrap_content"
        android:text="="
        android:gravity="center"
        android:textSize="24sp"
        android:layout_columnSpan="1"/>
    <Button
        android:layout_height="wrap_content"
        android:text="+"
        android:gravity="center"
        android:textSize="24sp"/>

</GridLayout>
修改成下图即可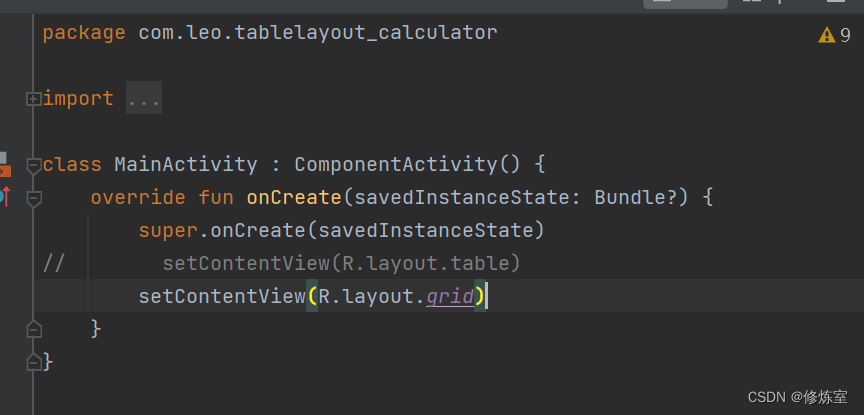
实现效果